Singer 99 - Part 1
I have started acquiring and rehabbing vintage sewing machines in the past year or so. It began with my Singer 15-91 and has continued. I have enjoyed the vintage machines, especially the one I converted to hand crank.
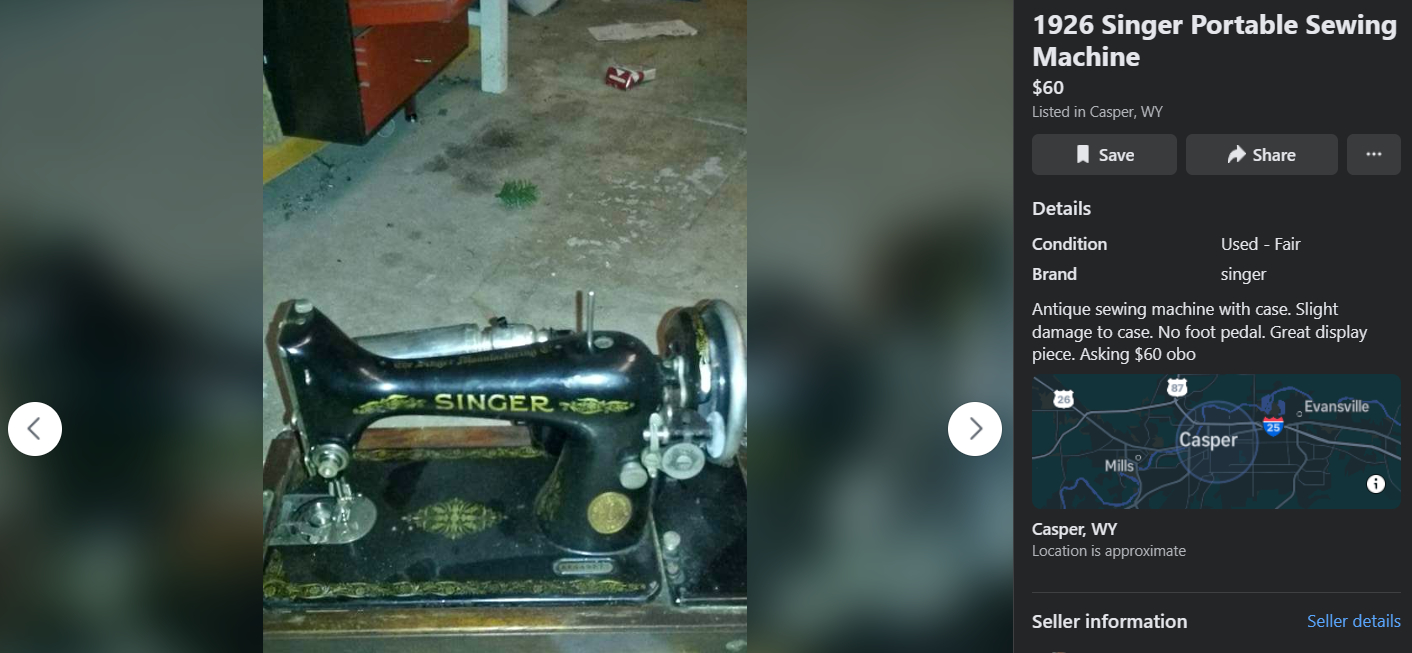
Periodically, I search Facebook Marketplace, Craigslist, and thrift stores. At the beginning of September, I found the following listing on Facebook Marketplace: Marta decided I needed a special prize for my birthday, so we set out to Casper to pick up another machine (A Singer 66 treadle machine I will talk about later). Based on the photos, I thought it was a 99-13 since it has a knee lever hole at the bottom of the case. I am not fond of knee-operated machines, but I am willing to try them. (Also, I saw that the listing said no foot pedal, but I assumed it was still inside the top of the case since that is a location people don't always think to look in.
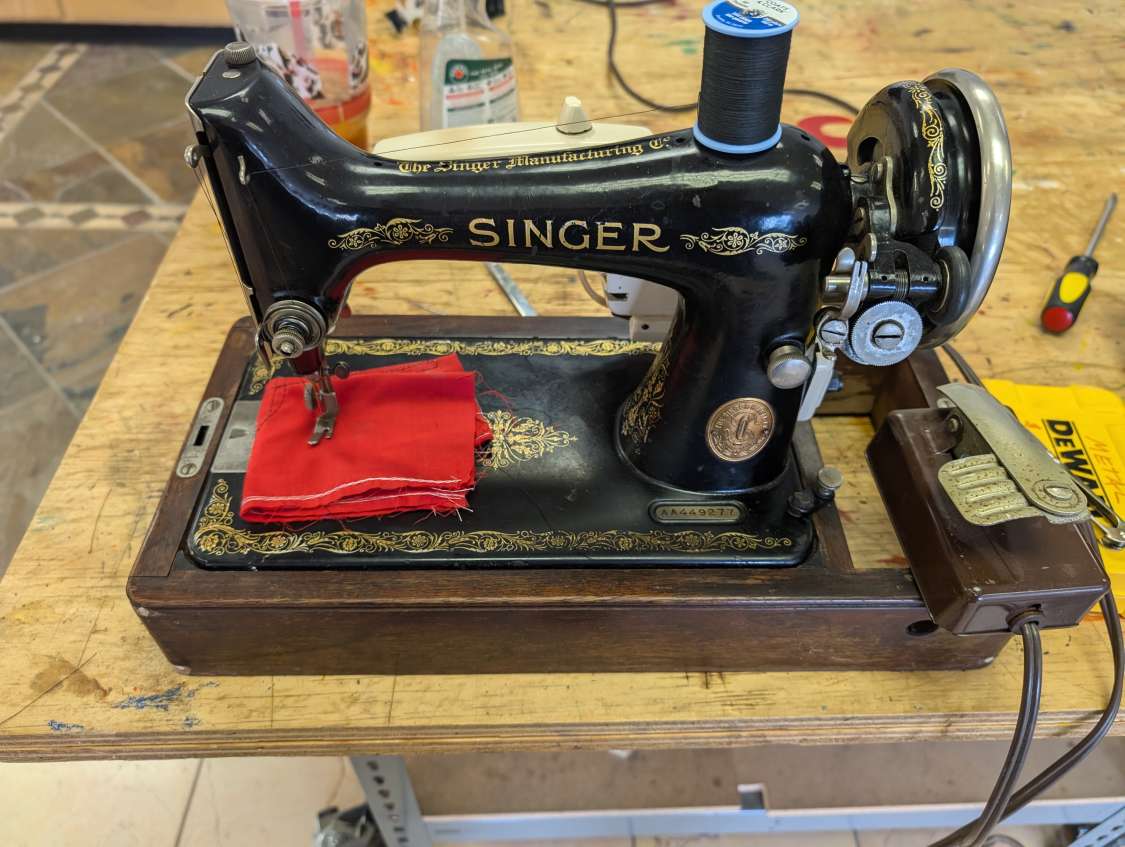
When I met up with the seller, I found that the machine was in pretty rough shape: the bottom of the case was destroyed, the knee bar was, in fact, missing, and there was no cord. The machine was pretty sticky and didn't move very easily. Normally I would have passed by, but the seller offered it to me for $30, so I decided to take it because I figured if I couldn't make it work, I could probably remove some good parts and sell them on to someone that needed them, but I hoped I would be able to get this up and running again.
As an aside, while searching for specific items and looking up tutorials for removing/repairing/replacing specific parts, I stumbled across a term that I love: sympathetic restoration. Until now, I had never heard this applied to sewing machines, only to collectible cars and historic buildings, but I love the thought of this within the context of sewing machines. Here is my favorite definition of sympathetic restoration.
A sympathetic restoration is correcting the mechanical and structural failures, while maintaining the physical affects of history & use.
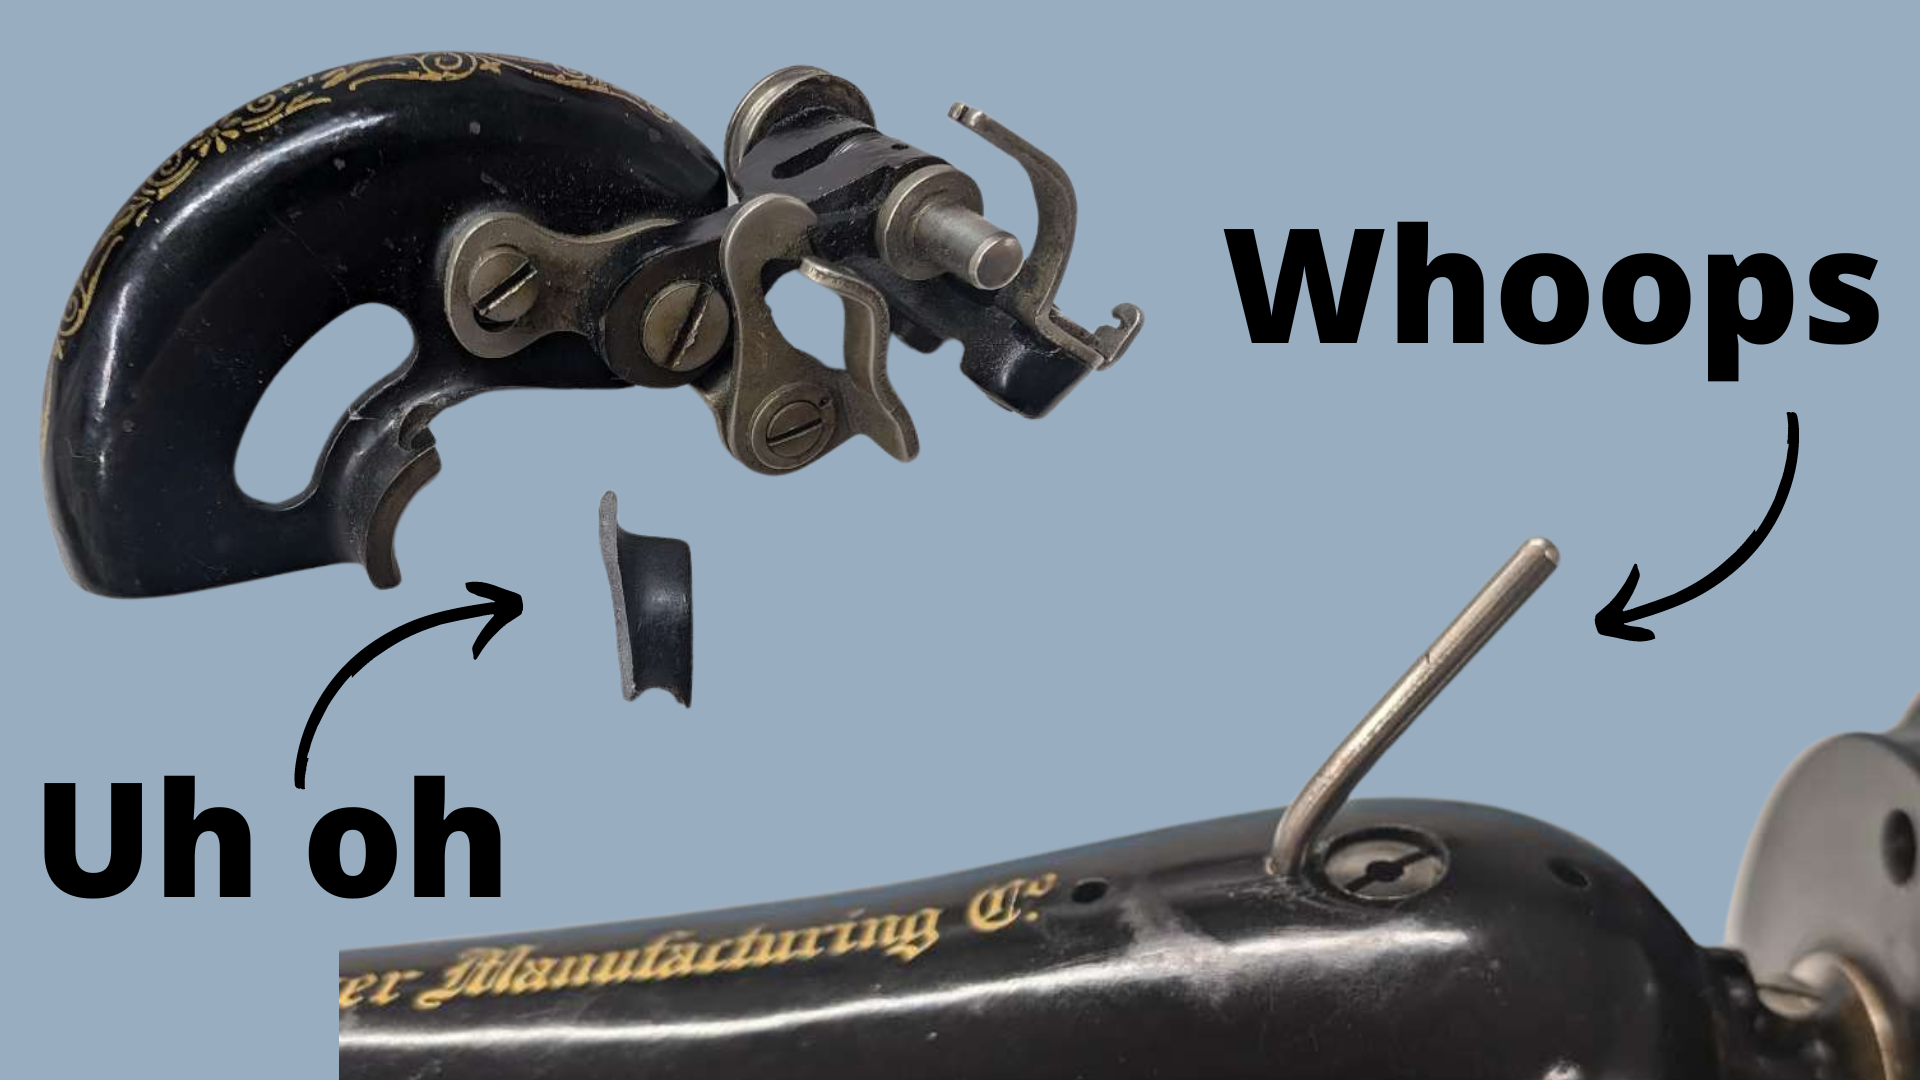
I will use this as my guide for repairing, replacing, or upgrading my sewing machines. Now this machine was a special case, I was able to get the machine moving freely with a little bit of cleaning and applying oil to all of the oil ports on the machine. Unfortunately, after getting the machine preliminarily cleaned and oild, the first thing that happened was that I placed the machine in a very precarious location, and it fell, bent the spool spin, and broke the bobbin winder. So that's fun.
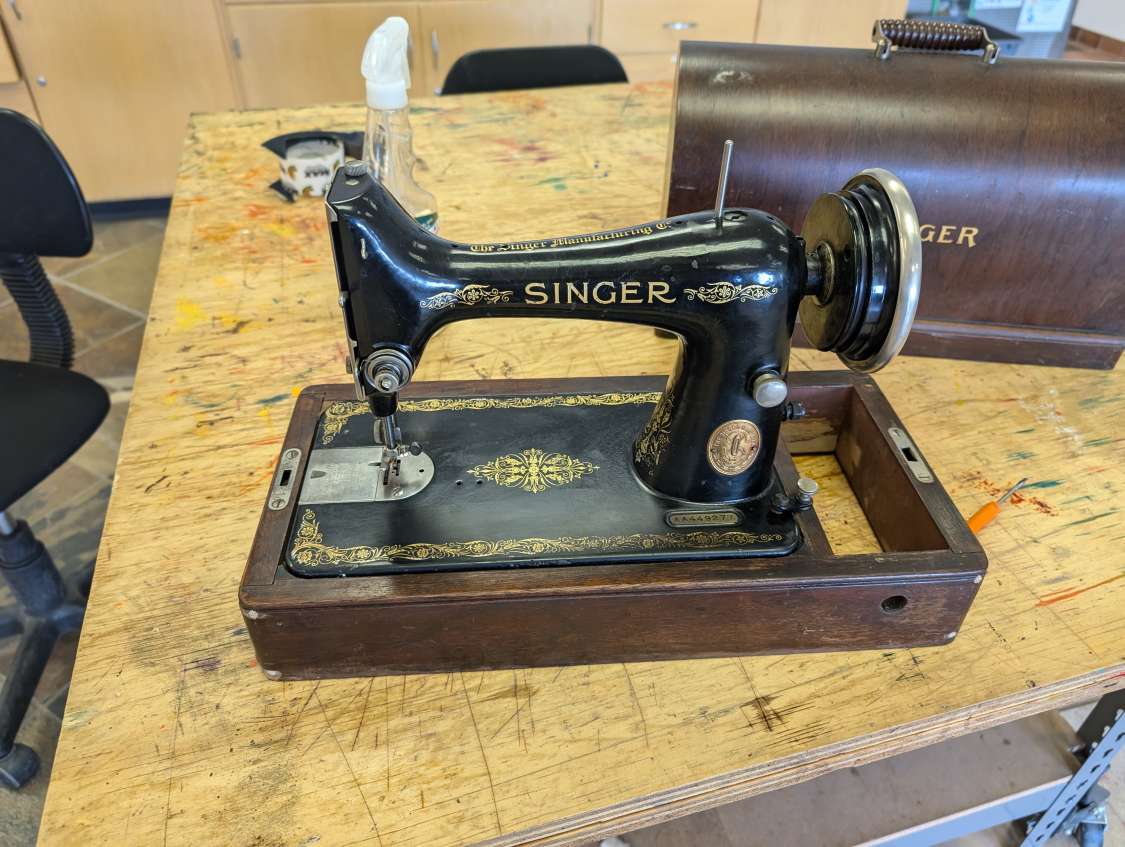
I could piece the bottom case together since this woodwork was originally dowel jointed and glued. I removed the remaining dowels and cleaned up the glue joint. I installed new dowels, applied glue, and clamped them. I let it dry for 24 hours, then used a saw to remove any excess dowel flush with the case. I didn't think to take any photos of this, but you can see the first photo I took after placing the machine in the case (without the bottom panel installed yet).
In Part 2 I will go over a few of the upgrades and changes I have made to this machine, including some 3D-printed upgrades and part replacements.